Demo Project
This tutorial will walk you through the core functionality of the Fid extension with a simple example integration of the Intel RealSense depth camera.
We’ll assume you have already installed the Fid extension by following the instructions in the Getting Started section, as well as standard developer tools like Git and CMake.
Setup Project Repository
To get started, clone and enter the following repository:
git clone git@github.com:Fid-Labs/realsense-demo.git
cd realsense-demo
Mac Setup
On Mac, you can install the RealSense SDK with Homebrew by running the following command:
brew install librealsense
Linux Setup
On Linux, you can install the RealSense SDK by following the instructions in the RealSense SDK install guide.
First Build
Additionally, create a build directory for Fid to use:
mkdir build
And run an initial build of the project to validate your setup:
cd build
cmake ..
make -j
Please resolve any build issues you may encounter prior to enabling automatic build iteration in Fid.
Building a Knowledge Base
You have access to a variety of knowledge sources for the RealSense camera that you can add to your knowledge base.
Datasheet PDF (also available in the
docsdirectory of the demo project)
To add a source, click the ‘+’ button in Fid’s knowledge base view.

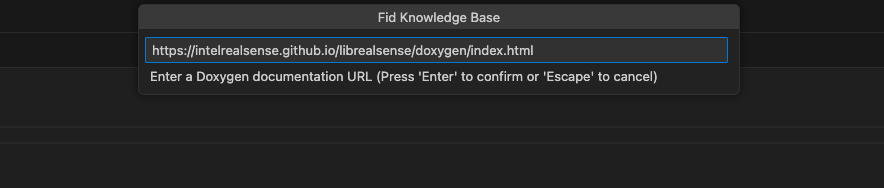
Begin by adding the RealSense Doxygen site by pasting in the following URL:
https://intelrealsense.github.io/librealsense/doxygen/annotated.html
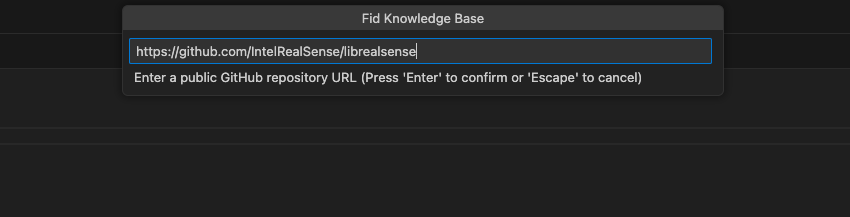
Next, add the source code of the RealSense SDK by pasting in the repository’s URL:
https://github.com/IntelRealSense/librealsense
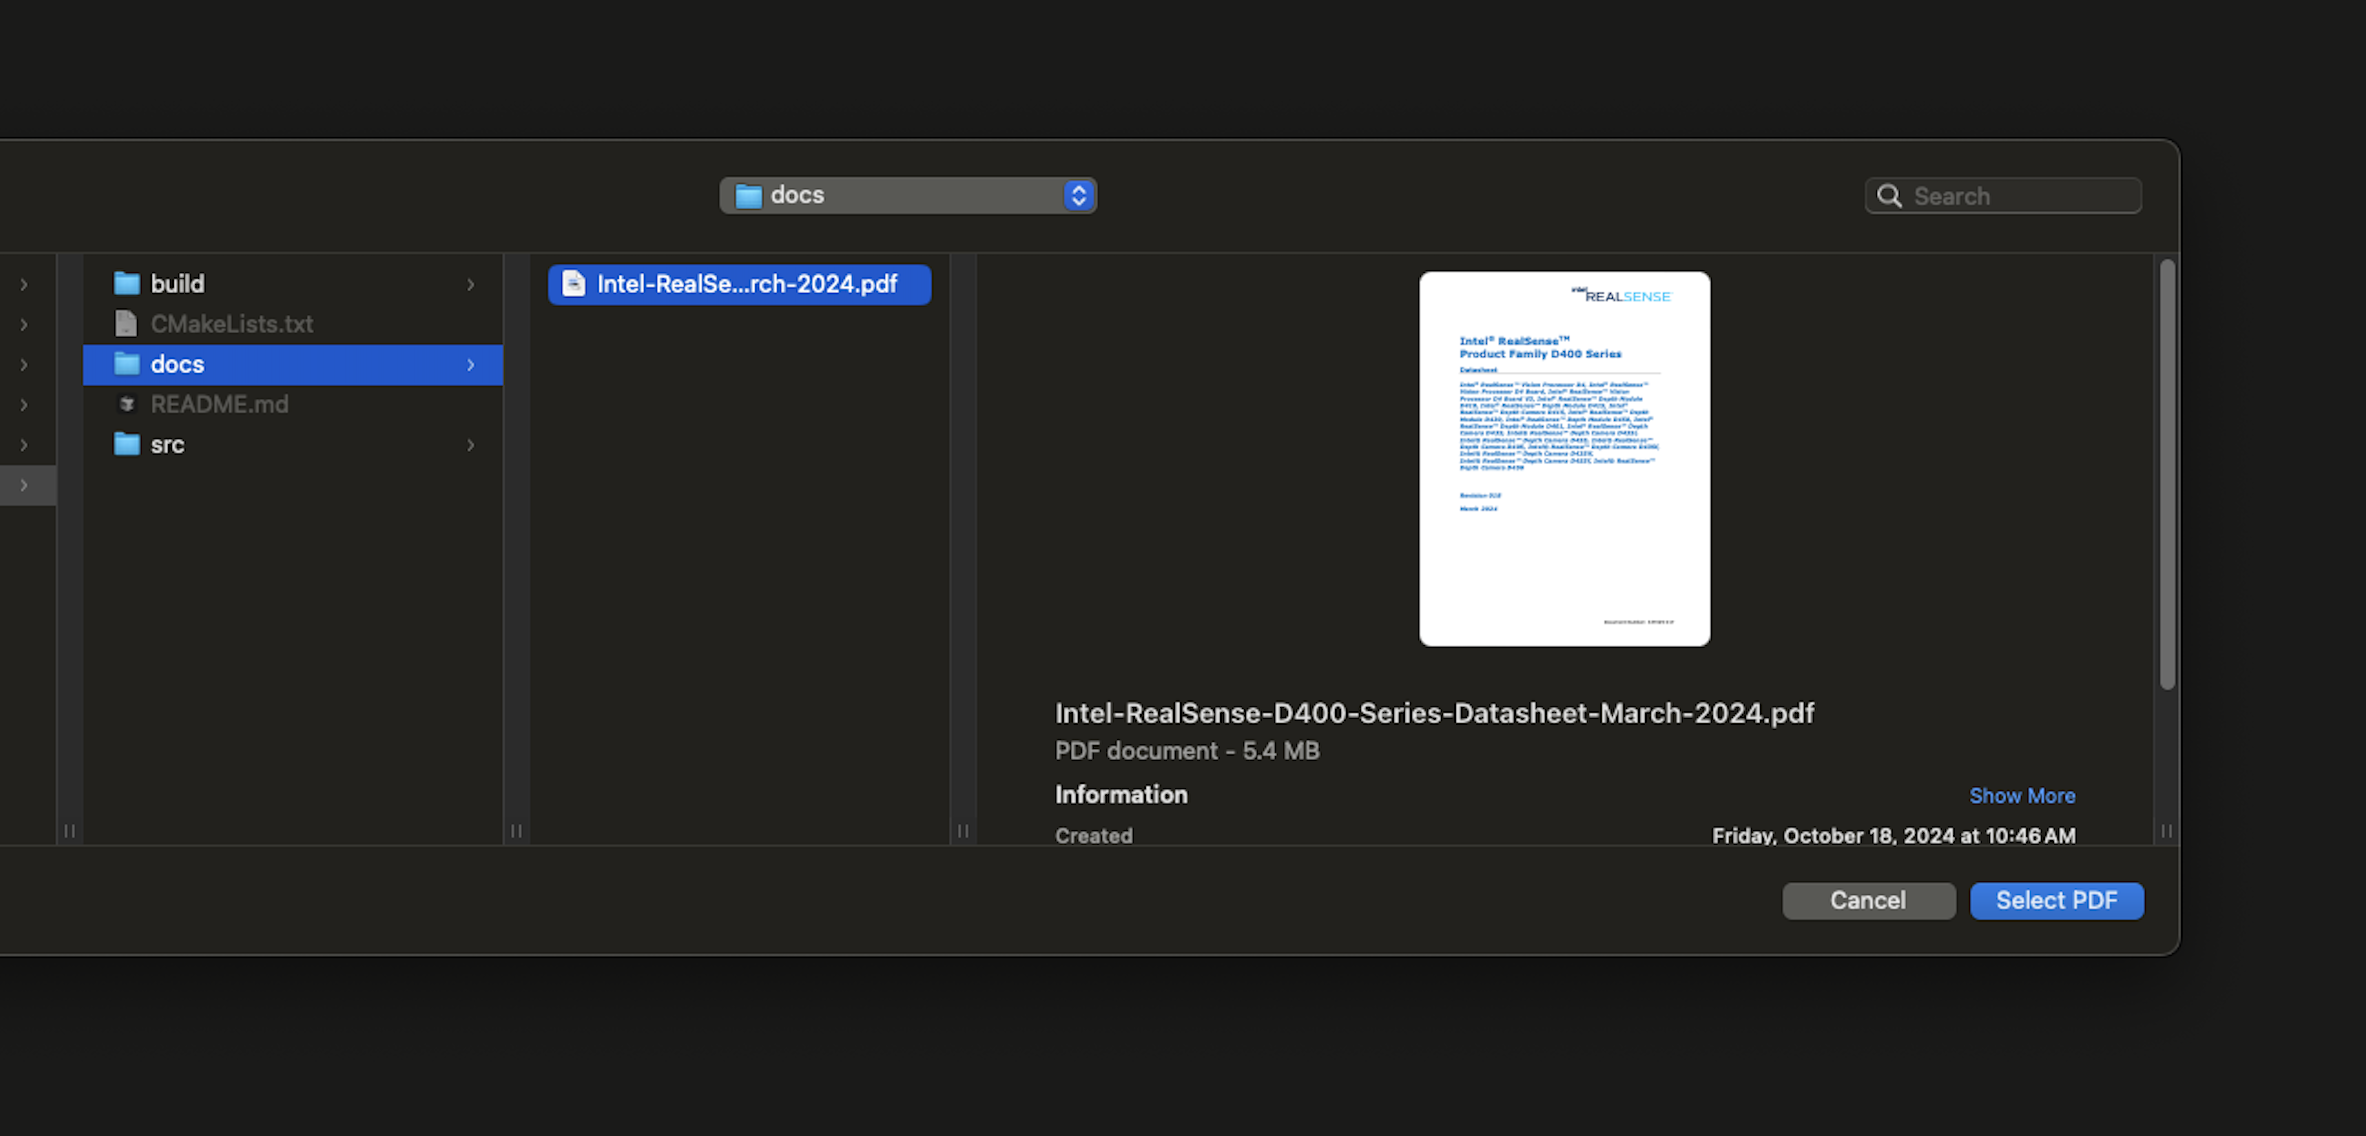
Finally, add the camera’s datasheet PDF by selecting it from the docs directory
You can also specify a name for every source

Searching your Knowledge Base
You can search your entire knowledge base by using the search icon in the navigation bar of the search view, using the keyboard shortcut ctrl+k/cmd+k, or by searching for “Fid: Search Knowledge Base” in the command palette.
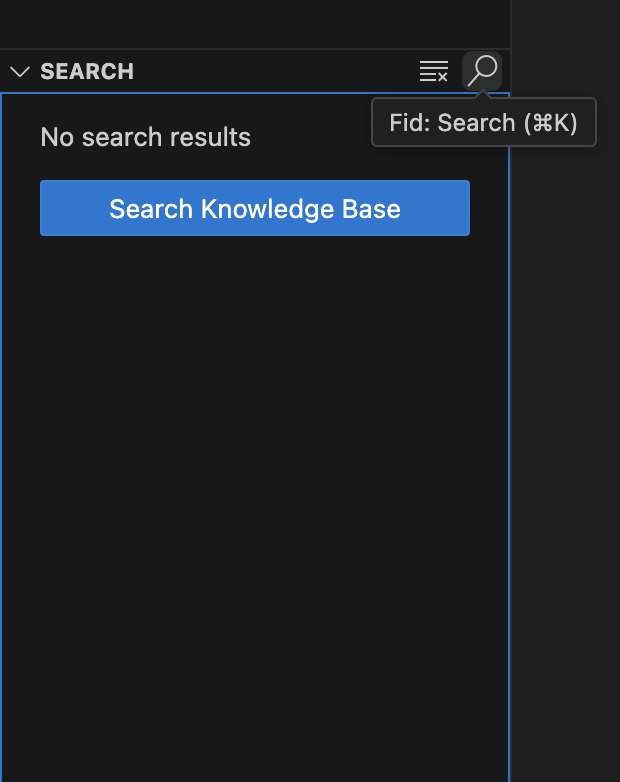
For example, find information about the RealSense SDK’s colorizer by searching for “color”:

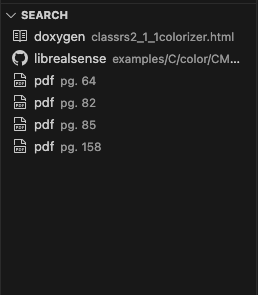
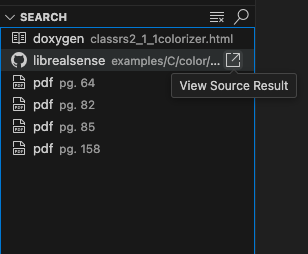
You can also navigate to a source in the results by clicking the link icon.
Enabling Build Iteration
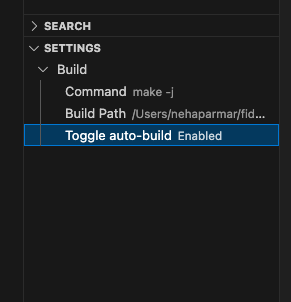
Fid can autonomously build the code it generates and iterate on any errors it encounters. To enable this, open the settings view in Fid and expand the “Build” section.

Click on “Command” to and set your build command to the following:
make -j
Next, click on “Build Path” to set the path to the realsense-demo/build directory that you created in the Setup section above.
Finally, enable automatic builds by clicking on “Toggle auto-build”.
Enabling Test Iteration
Fid can autonomously test the code it generates against your tests and iterate on any errors it encounters. To enable this, open the settings view in Fid and expand the “Tests” section.
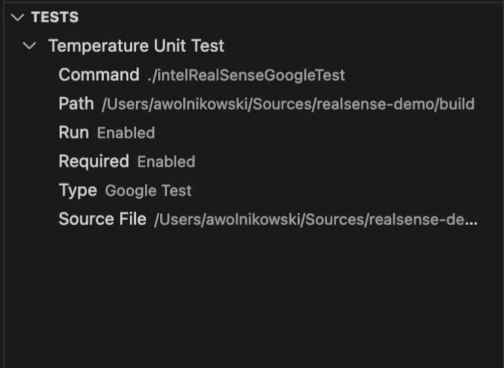
Click on “Command” and set your command to run your test. The demo project has two example tests that you can run by setting the command to the following:
Boost Test:
./intelRealSenseBoostTestGoogle Test:
./intelRealSenseGoogleTest
Next, click on “Path” to set the path to the realsense-demo/build directory that you created in the Setup section above.
Next, enable automatic testing by clicking on “Run”.
You can also set the test to required by clicking on “Required”. This will prevent the next test from being run if the required test fails.
Next, you can set the test type to Boost, Google, or leave it as None.
You can also move the tests up and down to change the order in which they will run by clicking on the up and down arrows.
Finally, set the source file to the test file you want to run.
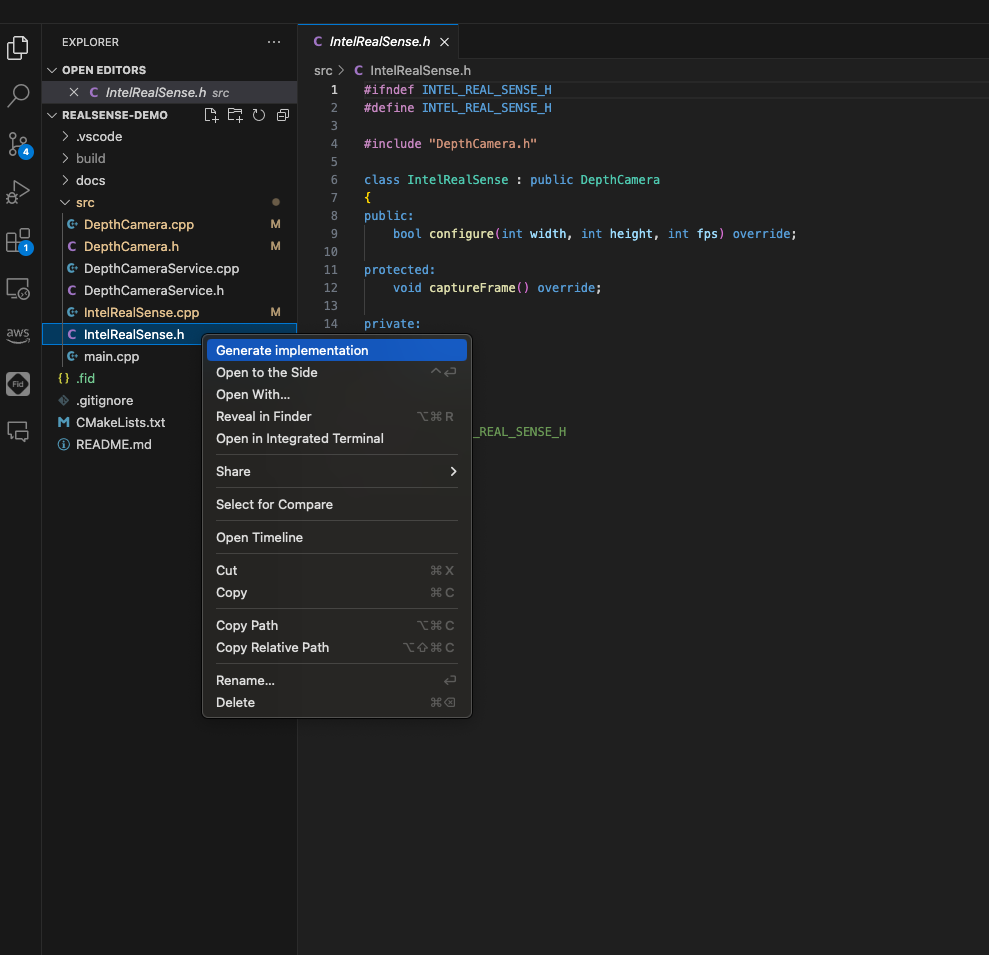
Generating Code
Now that you have a knowledge base with details about the RealSense SDK, and your build configured, you can generate code for a RealSense camera integration. IntelRealSense.cpp contains unimplemented placeholder functions, while IntelRealSense.h contains a basic class definition for the integration.
You can begin generating the implementation by right-clicking on IntelRealSense.cpp in the explorer and selecting “Generate File Implementation”
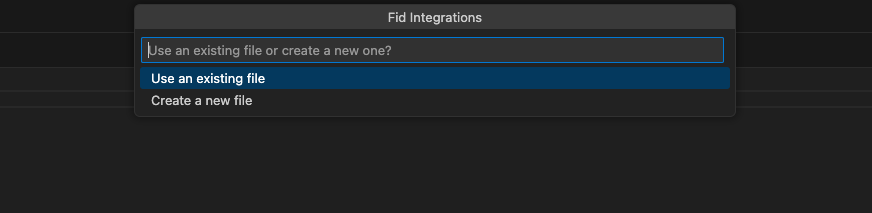
Next, accept the default of “Use an existing file” in order to generate to IntelRealSense.cpp
Finally, Fid should start generating code in IntelRealSense.cpp and iterating on any build errors it encounters.
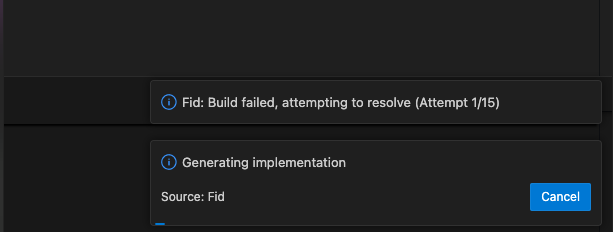
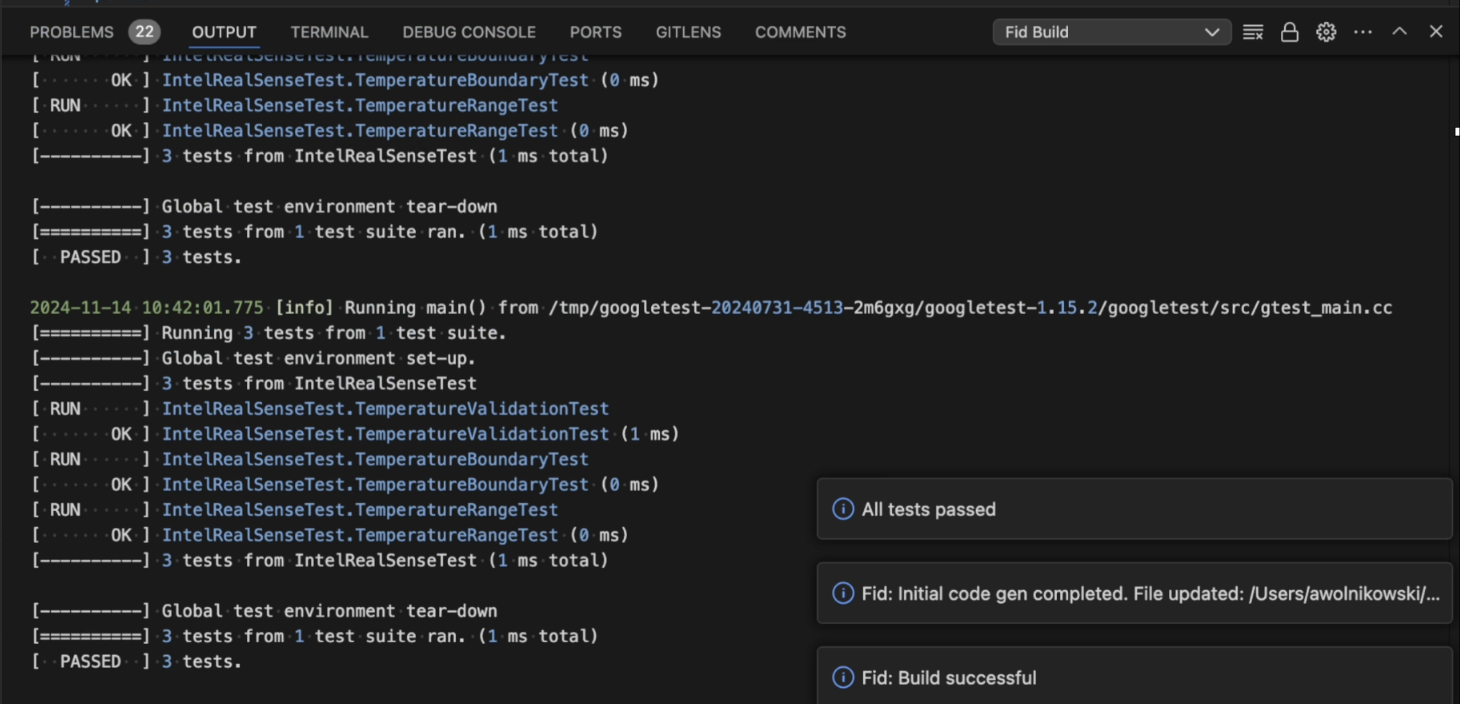
Additionally, you can see your build output in the output console under the “Fid Build” channel.
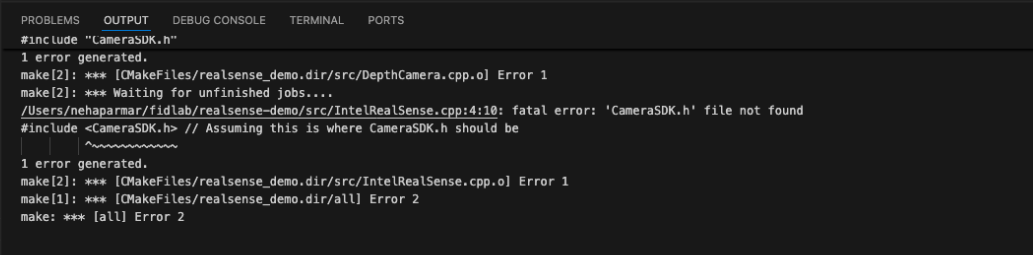
If you have added and enabled a test you can also see your test output in the output console under the “Fid Build” channel.